Live Stream 2024/01/27 - post-processing Seestar images
Disclosure: Please be aware that some of the links on this site are affiliate links and, at no additional cost to you, I may earn a commission if you decide to make a purchase after clicking through the link. My recommendation of products or services is always based on my personal belief in the high quality and value of those products or services. See my ethics page for more details. As an Amazon Associate I earn a small commission from qualifying purchases.


Digression: 3D-printed Seestar S50 accessories
First, a quick digression that might be worth mentioning. I might do a dedicated video on this. The lens cover and bahtinov mask are 3D printed. I actually hadn’t gone to Thingiverse. Here are a few things of interest.
Improving photos from Seestar S50
The photos that come out of the Seestar S50 by default are quite good. However, with a little extra work, you can make them even better.
The following examples will be done with Siril, a free and open source astronomy image processing program. I will also be using StarNet which is another free program that integrates in to Siril. I’m not going over the specifics of installing Siril and configuring StarNet, but it just takes a minute or two to set up.
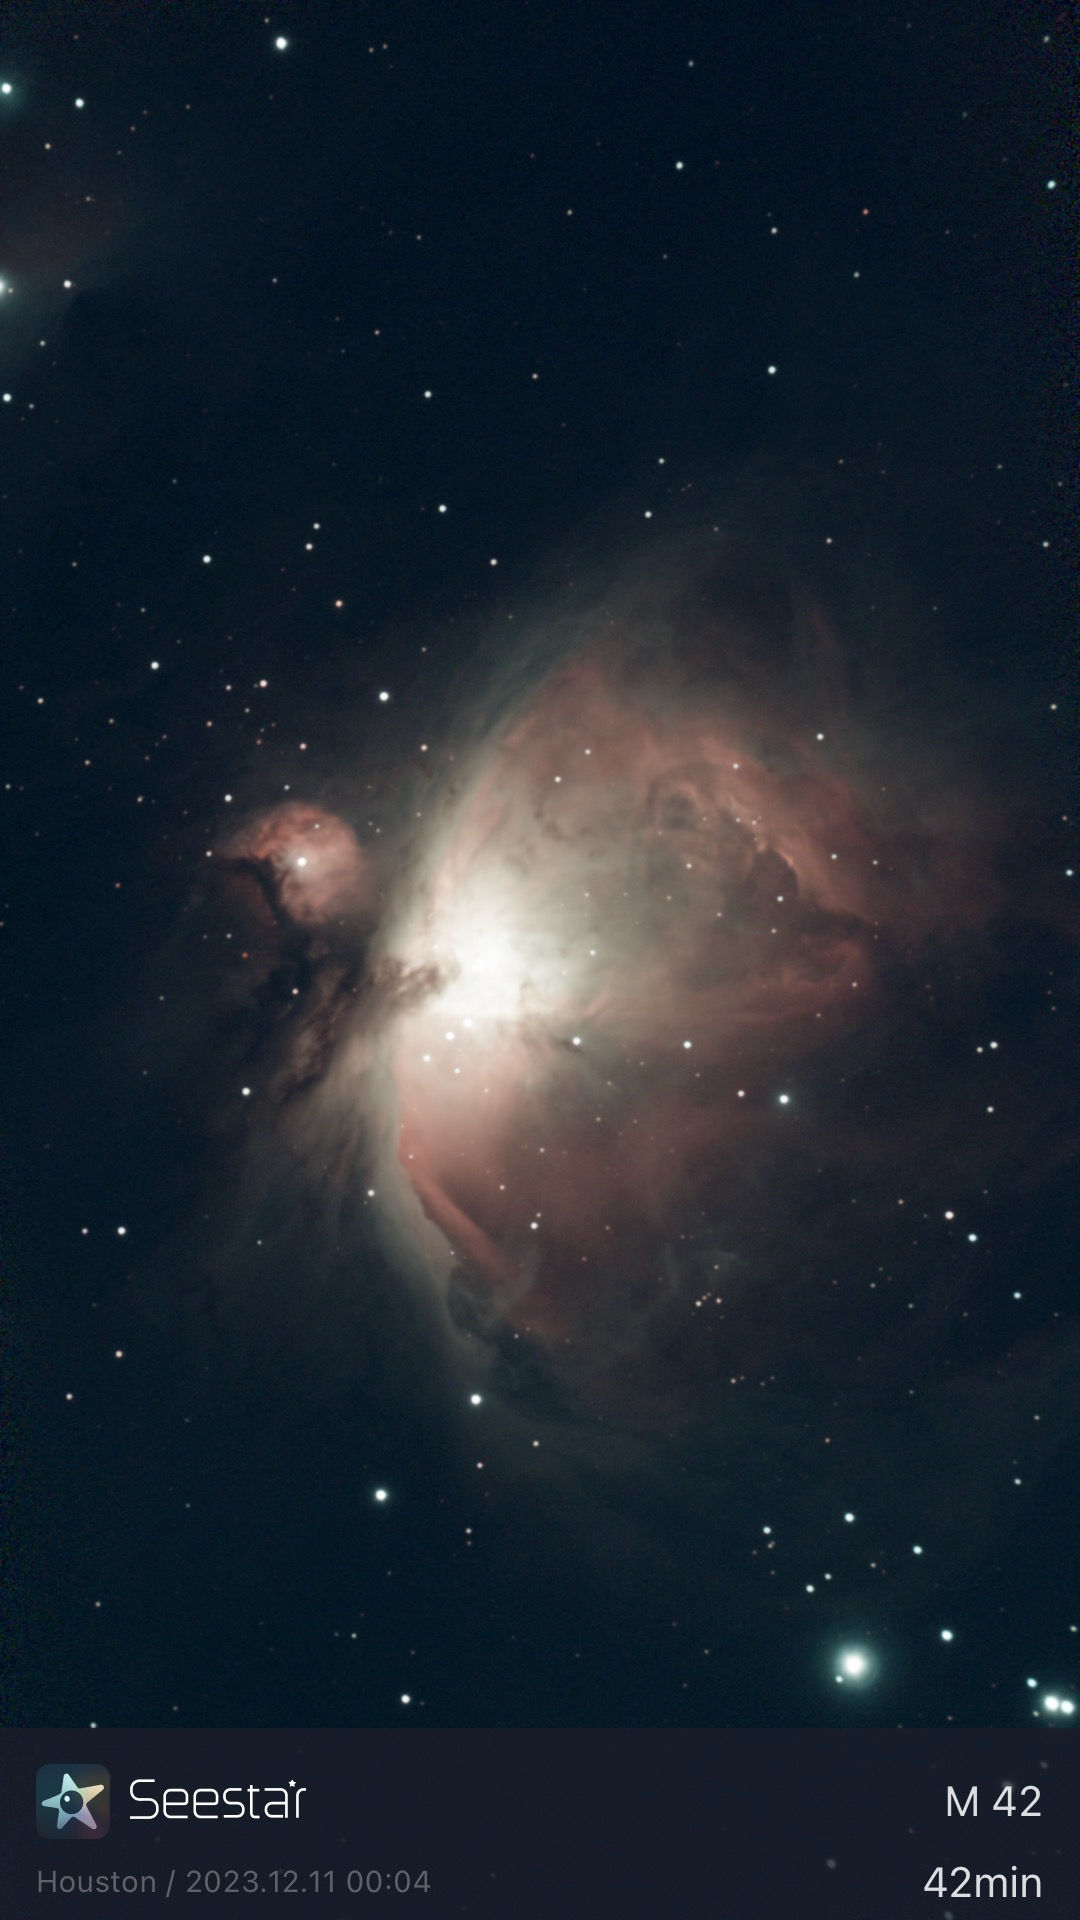
First, a recap on the Seestar. It takes a series of 10 second exposures, and processes them in-telescope. By default, it produces a jpeg and a FIT file from each target. The nice thing about the JPEG is you get instant gratification. You can see what you captured, and since the Seestar does live stacking, you can see the photo incrementally improve. The JPEG is also easily shareable.
The downside is you give up control. The FIT file that the Seestar produces is stacked, but it doesn't have all of the processing applied. You can process that yourself.
Now, with a setting in the Seestar app, you can have it save each 10 second frame it takes as jpeg and FIT file. If you want the ultimate in flexibility, at the expense of extra space used on the Seestar, turn that setting on. You still get the overall FIT and JPEGs, so you don't have to do anything extra. But you have the option if you want to.
A Quick Glossary
- FITS files. (Flexible Image Transport System.). 40 year old standard for astronomy data. Very flexible. Can have flexible metadata. It can store non image data too. Multiple data objects. https://en.wikipedia.org/wiki/FITS
- Stacking. (Combing a bunch of individual photos to get more detail, decrease noise.)
- Stretching. A lot of times image is still dark. Stretching fixes that. (The data is stored at a very high resolution, so astronomical data often looks dark.)
- Frames are the individual photos.
There are several categories of frames: light, dark, flat, bias. Calibration frames correct for different properties and limitations of what you’re using to take the photos. (The sensor and optics.)
- BIAS frames correct for the sensor read-out noise.
- Dark frames correct for sensor noise, including hot and cold pixels. (For example, when you take long exposures, you see graininess.)
- Flat frames correct for dust, vignetting (corner darkening) and other optical issues. Taken with a white light.
Light frames are your actual image.
Now that I’ve gone over those… we’re not using any them in the below example except light frames.
Why might you want to stack yourself?
- You have more control
- You can combine multiple days of photos of the same object
- You can easily exclude some suspect frames (for example, clouds roll in during that 1 hour exposure)
- It doesn’t take long so why not? 😊
Example 1
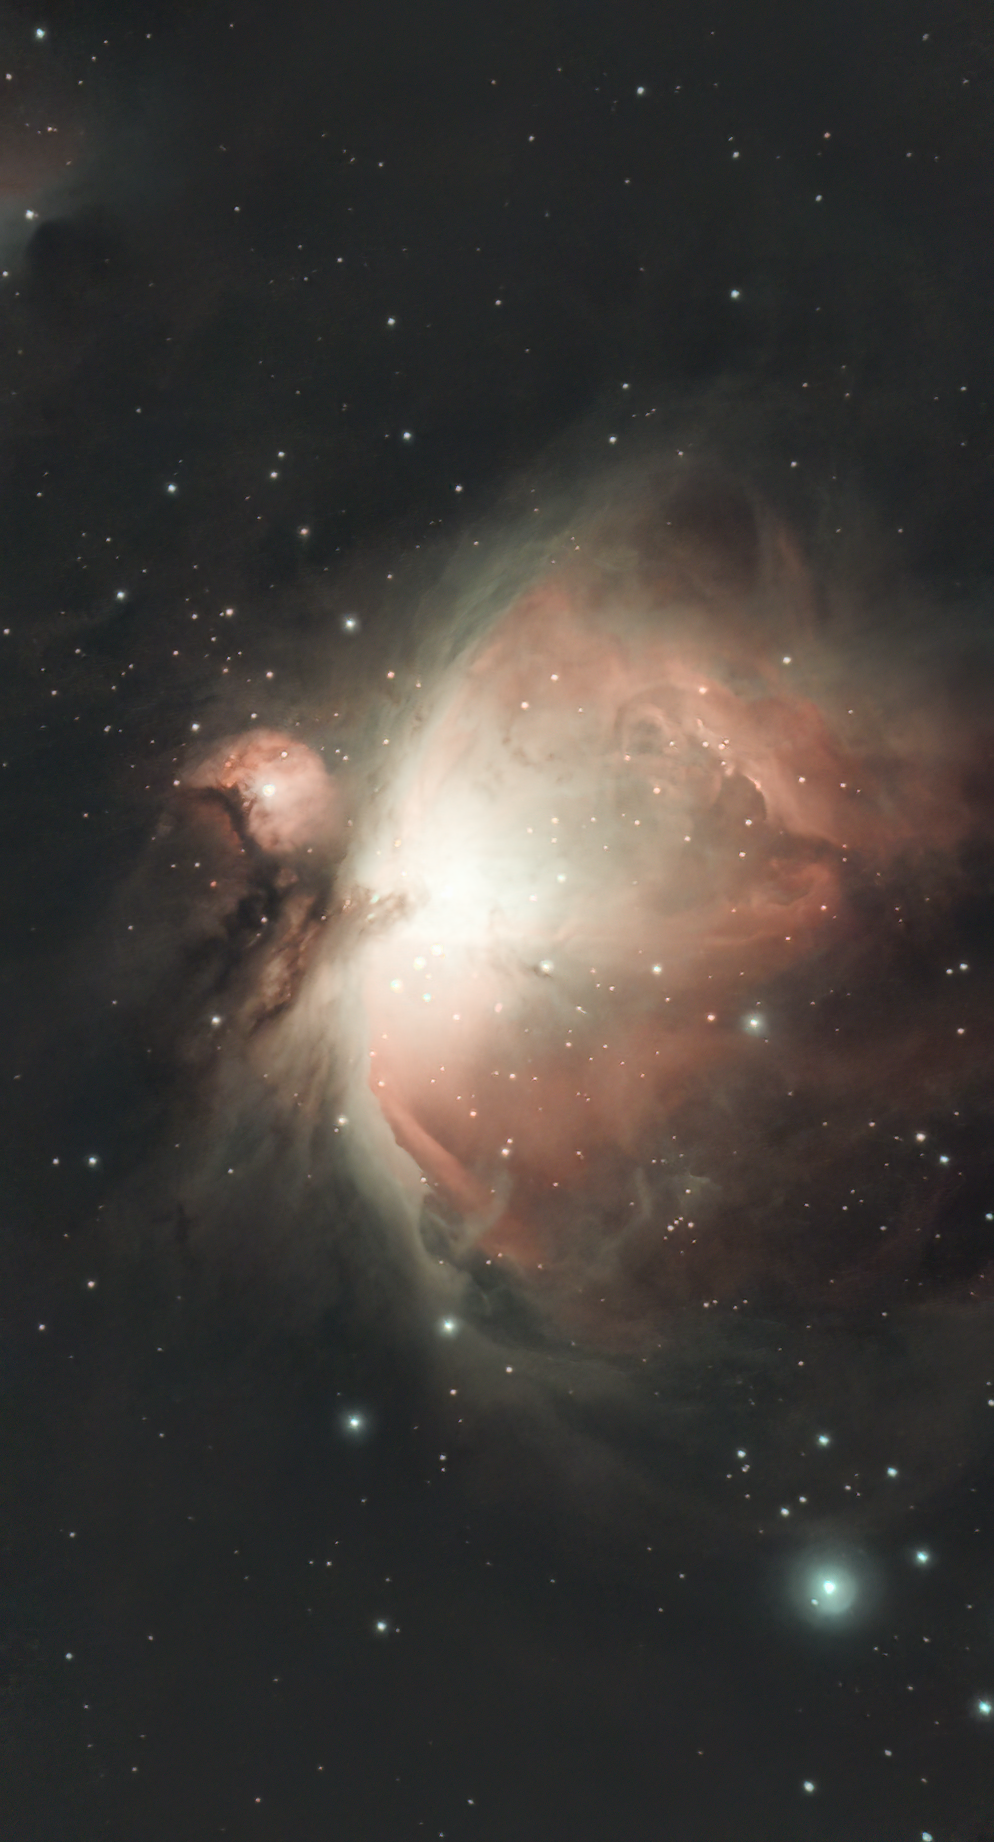
M42 - manually process just the FIT file. (photos coming soon)
Example 2
M42 - automatically stack. All of the frames are good. (photos coming soon)
Example 3
NGC 281 Pacman nebula - manually stack. Some bad frames. Basically, the telescope tracked until I started photographing the roof. On two different days.
By manually stacking, you can salvage a session, or combine multiple sessions.
Anecdote: I wasn’t paying attention. My back yard is like a canyon; I only have a narrow view to the sky. So sometimes I’ll start a long session, and telescope will track into the house. Another time I put the telescope outside. Conditions were great, but then some high clouds came through destroying the automatically stacked result from the Seestar.
(photos coming soon)