Get ready for the eclipse!
Disclosure: Please be aware that some of the links on this site are affiliate links and, at no additional cost to you, I may earn a commission if you decide to make a purchase after clicking through the link. My recommendation of products or services is always based on my personal belief in the high quality and value of those products or services. See my ethics page for more details. As an Amazon Associate I earn a small commission from qualifying purchases.

What is an eclipse?
A total solar eclipse is one of nature’s most awesome events. It’s also one of the most accessible. And there will be one in 3 months in North American. Where do you need to be? And what do you need to keep your vision safe?
In its most general, an eclipse is the blocking of light. In this case, we’re talking about earth, sun, and moon. Specifically, during a total solar eclipse, the moon completely covers the sun. It gets as dark as twilight. And you can see the sun’s outer atmosphere, which is called the corona.
What and when is it happening?
On April 8 of this year (2014), there will be a total solar eclipse.
The path will cross North America from Mexico to Canada. The moon will partially cover sun over much of North America, but only a narrow band will get to see the sun completely covered. If you’re in the central part of the band, you’ll see a bit over 4 minutes of totality. (In comparison, if you saw the 2017 North American eclipse, totality was about half as long.)
Ideally, this is where you want to be.
What will you see?
Now, what will you see? During the partial phases, you’ll see a crescent sun. The closer you are to the center, the smaller the sliver of sun.
If you’re closer to the path of totality, it will get noticeably cooler. Sunlight will be dimmer, as if there is something over the sun. Yet shadow edges will be crisp. And if you look at the patches of light under trees, they’ll be crescents instead of round circles of light.
Now, if you’re on the path of totality, the sun will disappear, and day will turn to twilight. You’ll see the outer atmosphere of the sun, the corona. You will even see some brighter stars and planets, although honestly you’ll probably be focused on the sun.
You’ll see the yellow glow of sunset in every direction.
Decisions
Now, you have to answer one critical question: are you going to try to see totality? If you’re already on the path of totality: congratulations! You don’t have to go anywhere.
However, if you’re not, then if you want to see totality, you need to get to the path of totality.
What are the biggest obstacles to enjoying it? 99% of it is weather. High hazy clouds aren’t a major problem: you should still be able to see the eclipse. Thicker clouds, and you will miss it. So where is the best place? Wherever it’s clear. (insert text “duh!”)
Some areas will have better chances of good weather than others. For example, in the United States some of the best odds are in Texas.
Now, if you are traveling, hotels are already booked up. Also, there will likely be traffic in some areas the day before the eclipse.
Gear
With that out of the way, how can you enjoy the eclipse? So long as you have the right equipment, you can keep your vision safe. But what do you need? And what if you don’t want to spend any money on things?
First a word about gear and a caution
You don’t need much to enjoy a solar eclipse.
However, no matter how small the sun appears, it is incredibly bright. You need eye protection if you’re looking at the sun directly, or you can look at it indirectly, which I’ll ge to later.
It’s worth repeating: looking at the unfiltered sun will destroy your eyesight. If you add a filter to a telescope, make sure it’s supposed to be used for solar observing, make sure it’s secured, and for goodness sake make sure it’s supervised. You don’t want a kid looking at the unfiltered sun.
During total phases, you don’t need any filtering. However, the first bit of sun at end of totality is bright. so you have to be careful. (Don’t look at it directly through a telescope.)
And finally, let’s talk about optical vs digital paths. For example, DSLR vs Mirrorless. If you are looking through this at the unfiltered sun, for latter, you fry the sensor. For a DSLR, you fry your eye. The same thing applies for telescopes. When in doubt, don’t do it! There will be other eclipses, but you only have two eyes.
Solar glasses
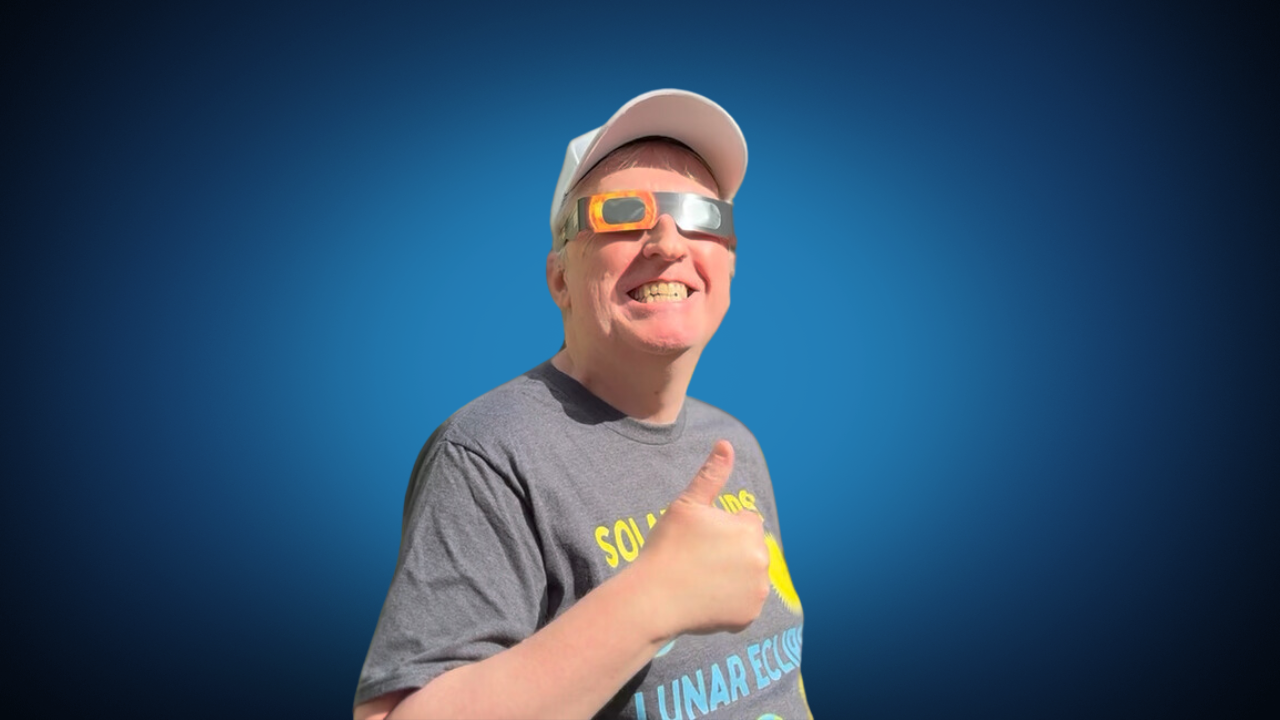
These are so cheap, they’re basically a no-brainer. Go ahead and get them now. They’re pretty cheap, and I’d recommend getting a 10 or 20 pack so you can share with friends and family. Make sure they’re ISO certified! (include text of the certification)
Paper solar glasses (Paid Link)

Solar binoculars
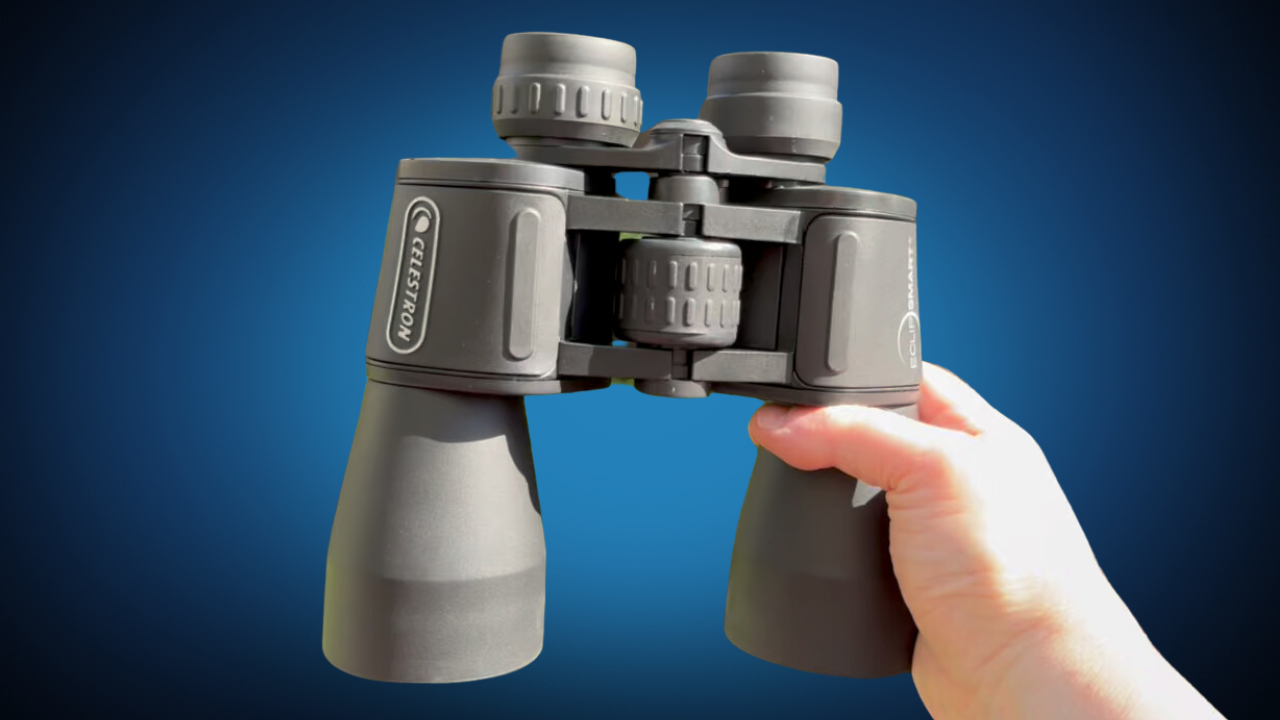
Solar binoculars are nice, but they can be tricky to point at the sun. They block so much light, that all of the sky will appear completely black until you’re pointing them almost directly at the sun. Don’t get ones with too high of a magnification, or it will be hard to find the sun. If you have normal binoculars, you can add filters. But again… you must be careful!

Camera with a telephoto lens
If you want to take photos, magnification is the name of the game. For the partial phases, you want to fill the frame. For totality, less so. (show that chart, show Stellarium)
You will want to put an ISO rated solar filter on the lens. But be careful that the filter can’t come loose accidentally.
If you have a telephoto lens, that will probably work. However, It has to be a fairly substation telephoto lens. Not necessarily this large. But I’d say 300mm might be the bare minimum. I find a zoom lens gives me the most flexibility.
In 2017 and 2023 I used a Sigma 150-600mm lens with a Canon EF mount. It is available in other camera mounts. I've been pretty happy with the lens, but it's a bit bulky, and not necessarily something you want to get just for an eclipse. (I use it to take nature photos, plus the occasional plane, the moon, and any other time I want to get a photo of something I can't get any closer to.)
Sigma 150-600mm EF (Paid Link)
Telescope?
Now, finally you can use a telescope with solar filter.
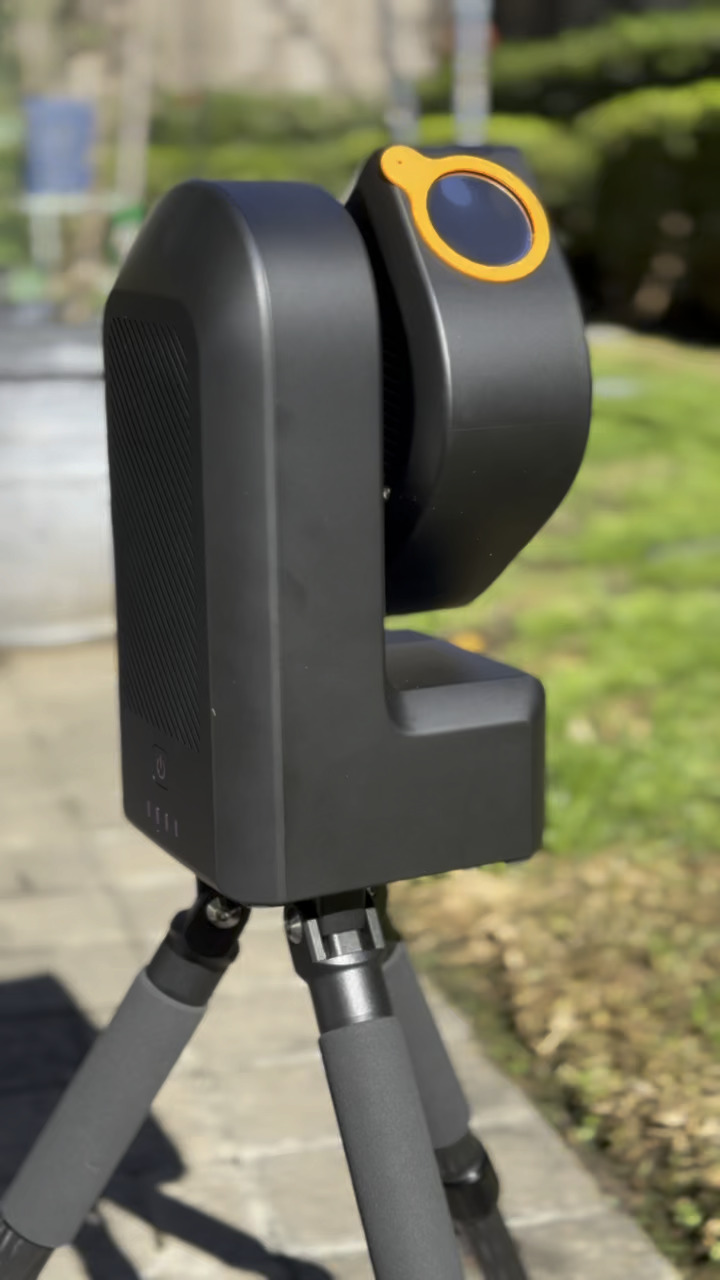
If you’re astro-curious, but don’t have a telescope and want one, and have about $500 budget, order the Seestar S50 right now. (Link in description.). It’s a great beginning friendly telescope. It’s perfect for the partial phases. However, for totality it won’t be as useful.
There are other setups you can have, but I’m not going to cover them in this video.

Other gear: Sun tracking, automation
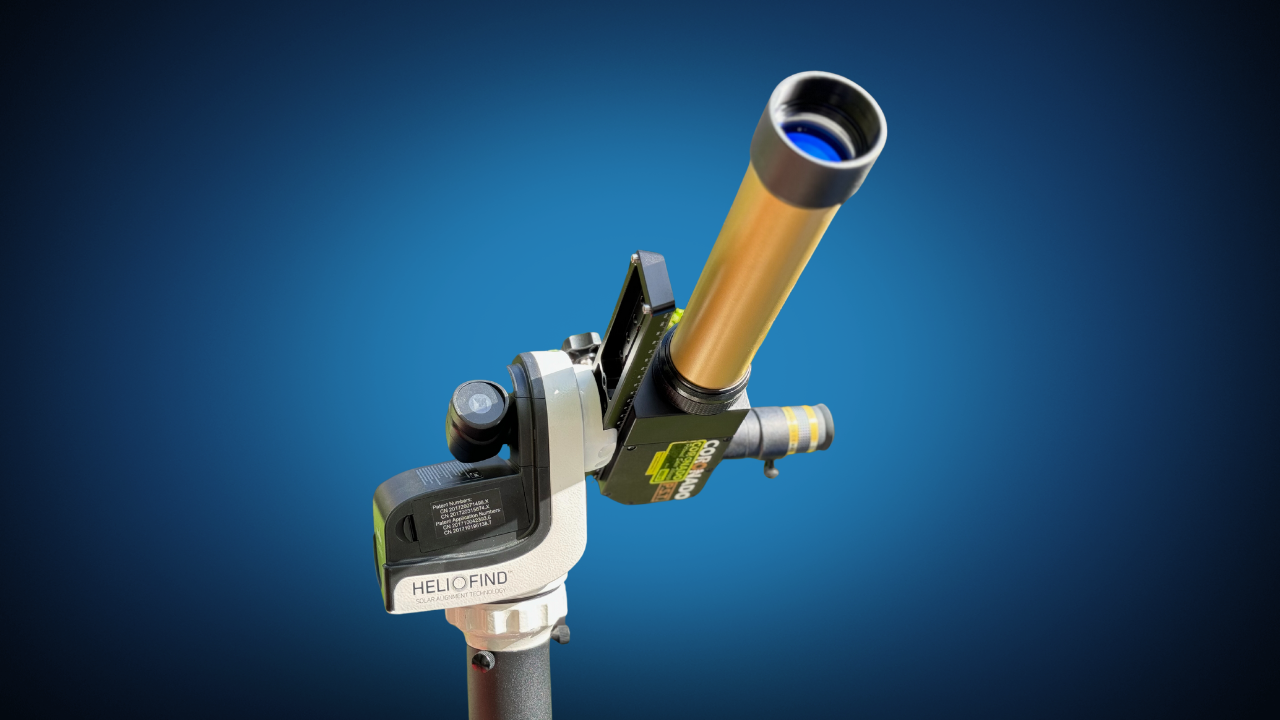
Now, there are other things you may want. For example, unless you have something like a Seestar which tracks the sun for you, you might want some kind of a star tracker or special purpose sun tracker. These will cost $300 to $500 if you go this route.
If you want to automatically take a series of photos, and if you have a mirrorless camera or DSLR, some cameras will let you configure them to take a series of photos automatically. If not, you can use an intervalometer. It’s a fairly cheap gadget that plugs into your camera and lets you take a number of photos on a regular interval. Like every 15 seconds for example. In that case, you’ll definitely want some kind of way to track the sun.
If you want to get really fancy, there is software you can use to control the camera.
SolarQuest sun tracker (Paid link)

Repurposing things you might have
Now, what if you don’t want to spend any money, or much? There are options.
If you have an old telescope sitting around, you might be able to use that, even without a solar filter. But it has to be the right kind. (show old photo of me). This is a Newtonian reflector. It doesn’t have a sealed tube, and it wasn’t very large. So heat build up was less of an issue. Refractors and SCT type telescopes should never be used like this. Also, since you are just projecting the sun’s image on something, there is no filtering. You have to be super careful that no one tries to look through it.
If you’re willing to get a lens filter, I was even able to use a kids’ telescope. Again… it has to be supervised. But it worked. No award winning images, but it did the job. (show split screen of telescope and photo with my phone)
Another, even safer option works if you’re near a tree. If you see circles of light under the tree when the sun is shining, those will turn to crescents during the eclipse. If there is pavement, you don’t have anything to do. If there is grass, you can put a white sheet or poster board on the ground. Cheap and easy and no one will accidentally go blind!
Finally, you can even make your own pinhole projector with a cereal box. It’s a great craft project. Similar to the telescope and tree examples above, you’re looking at a projection of the sun’s image, so you don’t go blind. Just make sure it’s used correctly. (And someone doesn’t try to look through the pinhole.)
Whatever you do, make sure you test things out well before the eclipse. You don’t want to be testing out new gear the day of the eclipse. Trust me.
Resources
- https://science.nasa.gov/eclipses/future-eclipses/eclipse-2024/